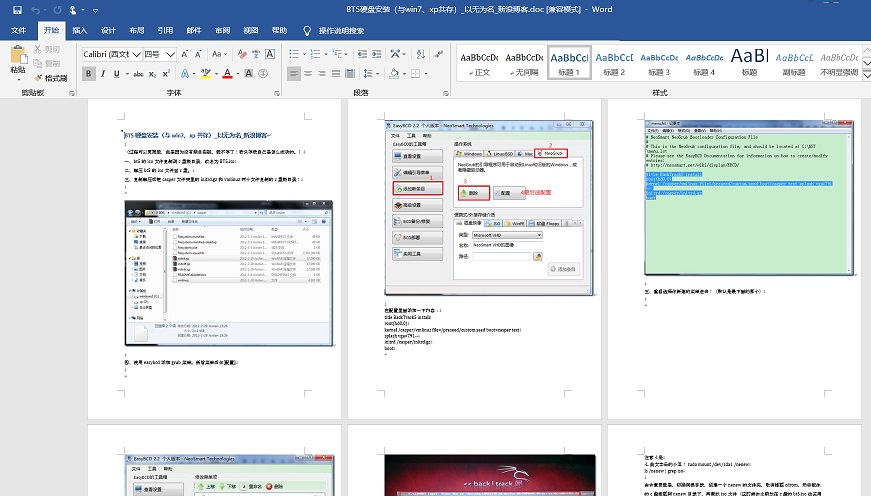
网络第一篇python爬取图文到word(图文间隔混排)
网上关于python爬取图片及文字的教程一搜一大把,但是这些python程序都是把文字与图片单独保存的!可以说本文是将爬取到的图片及文字保存到word中的网络教程第一篇(至少我找了两天没有找到类似的教程),有些教程只是单纯地把图片堆砌到word末尾。关于网络爬虫的其他简略教程可以看我之前的几篇文章:
python+BeautifulSoup爬取网易新闻到txt文件
python操作word文档用的是 Python-docx Document库,如果没有安装的在调试源码的时候根据报错百度下错误内容然后pip install一下。本文的源码已在python3.7版本测试通过。

程序思路如下:
1、爬取网页指定div区域全部内容
2、使用BeautifulSoup的tag搜索功能找出里面存在的img标签
3、利用python的split函数按img标签分割div内容为N个文字部分
4、循环各个文字部分,将每个文字部分使用document.add_paragraph存入word,同时使用select匹配出img图片的url信息并下载图片(处理图片防盗链),然后在word后面追加写入图片document.add_picture
5、最后保存word文档。
本例爬取的是新浪博客指定的文章(可无视新浪的图片防盗链),如果需要爬取指定网页的图文信息到word中,请利用好浏览器F12分析下网页结构。
import requests
from bs4 import BeautifulSoup
import os
import docx
from docx import Document
from docx.shared import Inches

def split_text_by_img(html,imglist):#将html代码以图片list进行分割成块
	content_parts = [] #根据图标签将正文分割成N部分
	for imgtag in imglist: #imgtag属性是bs4.element.Tag 后面需要使用str()函数转换成string
		#print(imgtag)
		html = str(html)#强制转化为字符串方便split分割
		str_tmp = html.split(str(imgtag))[0] #取图片分割的前一个元素 加入 正文list部分
		content_parts.append(str_tmp)
		#print(len(arr))
		html = html.replace((str_tmp+str(imgtag)),'')#将正文第一部分及图片标签字符串 从html中替换抹掉作为下一个for循环的html
		#print(html)
	content_parts.append(html)#把最后一张图片后的html内容补上
	return content_parts


def pic_down(referer_url,pic_url):#根据图片url保存图片,填写referer可伪装referer来源下载防盗链图片
	headers = { "Accept":"text/html,application/xhtml+xml,application/xml;",
	            "Accept-Encoding":"gzip",
	            "Accept-Language":"zh-CN,zh;q=0.8",
	            "Referer":referer_url,
	            "User-Agent":"Mozilla/5.0 (Windows NT 6.1; WOW64) AppleWebKit/537.36 (KHTML, like Gecko) Chrome/42.0.2311.90 Safari/537.36"
	            }
	#保存图片至本地,因为新浪图片url中,不带后缀,这里就加了jpg后缀名,否则生成的word会报错
	img_name = pic_url.split('/')[-1]+'.jpg'
	#img_name = pic_url.split('/')[-1]

	with open(img_name,'wb')as f:
	 response = requests.get(pic_url,headers=headers).content
	 f.write(response)
	 f.close()
	 return img_name


url = 'http://blog.sina.com.cn/s/blog_67493dad0101a067.html'
html = requests.get(url).content
soup = BeautifulSoup(html,'html.parser')
#post_detial = soup.find('div',{"class":"post_text"}).text
title = soup.title.string;#取得title标签的文字内容
post_detial = soup.find('div',{"id":"sina_keyword_ad_area2"})#限定需要保存到word的区域,
#F12查找到div标签id=sina_keyword_ad_area2 的区域是新浪博客的详情内容
#print(post_detial) #获取div区域html源文件


#img_tag_list=post_detial.select('a img')
img_tag_list=post_detial.select('a>img ')#在详情内容中截取出图片img的标签list
print("发现图片标签个数:"+str(len(img_tag_list)))
new_text = split_text_by_img(post_detial,img_tag_list)#按图片分割成段,返回list串
print("截取博客文章片段数:"+str(len(new_text)))

#print('beg==============================================')
#print(new_text[1])
#print('end==============================================')

document = Document()
document.add_heading(title)#向文档里添加标题
i = 0;
for part in new_text: #循环写入
	print('写入第 '+str(i+1)+' 个片段')
	#print(n)
	part='<html><body><div >'+part #part是含html标签的字符串,下面使用BeautifuSoup时需要lxml格式化,所以需要加前缀
	# 使的每个part部分都更像一个网页,否则BeautifulSoup(part,'lxml')处理的时候会把第二部分开始的内容处理为空

	part_tag = BeautifulSoup(part,'lxml')# 如果不进行lxml处理,下面get_text()无法使用。
	document.add_paragraph(part_tag.get_text())#向文档里添加文字

	if (i < len(img_tag_list)):#写完片段后紧接写入位于此处分割的图片
		imgurl = img_tag_list[i].get('real_src')#新浪图片地址在real_src属性里,一般是src
		img_name =  pic_down('http://blog.sina.com.cn',imgurl)#新浪图片有防盗链,需要加入referer='http://blog.sina.com.cn'
		print('写入第 '+str(i+1)+' 张图片:'+imgurl)
		#document.add_paragraph('此处需要插入图片'+img_name+imgurl)#向文档里添加文字
		document.add_picture(img_name)#向文档里添加图片
		#os.remove(img_name)#删除保存在本地的图片
	i=i+1


#document.save('图文.doc')#保存文档
document.save(title+'.doc')
如果使用中报错:AttributeError: ‘NoneType’ object has no attribute ‘split’ 请确保imgurl = img_tag_list[i].get(‘real_src’) 这一行中你筛选的图片url属性是不是对的!
另外保存网页不一定非要保存为word形式,可以使用修改img标签的方式保存(把远程图片下载到本地,然后替换html中的图片路径为本地地址)为html文件。也可以使用html转pdf的开源库直接保存为pdf文件。
另外python操作word的库 Python-docx 不仅仅可以操作word还有其他功能,有兴趣的可以网上找找其他教程。如果使用python操作已存在的图文word有一些细节还是要注意的,否则可能导致添加文本后word里面的图片消失不见,这也是之前找教程时看到的,当时没有记录下地址可惜了。后面有时间再写一篇关于python中 Python-docx 有关的文章吧!
2条评论